You can upload up to 50 images in Location Manager. Here's how:
1. Select the Location
Find the Location in 'All Locations' and click the 'View' button.
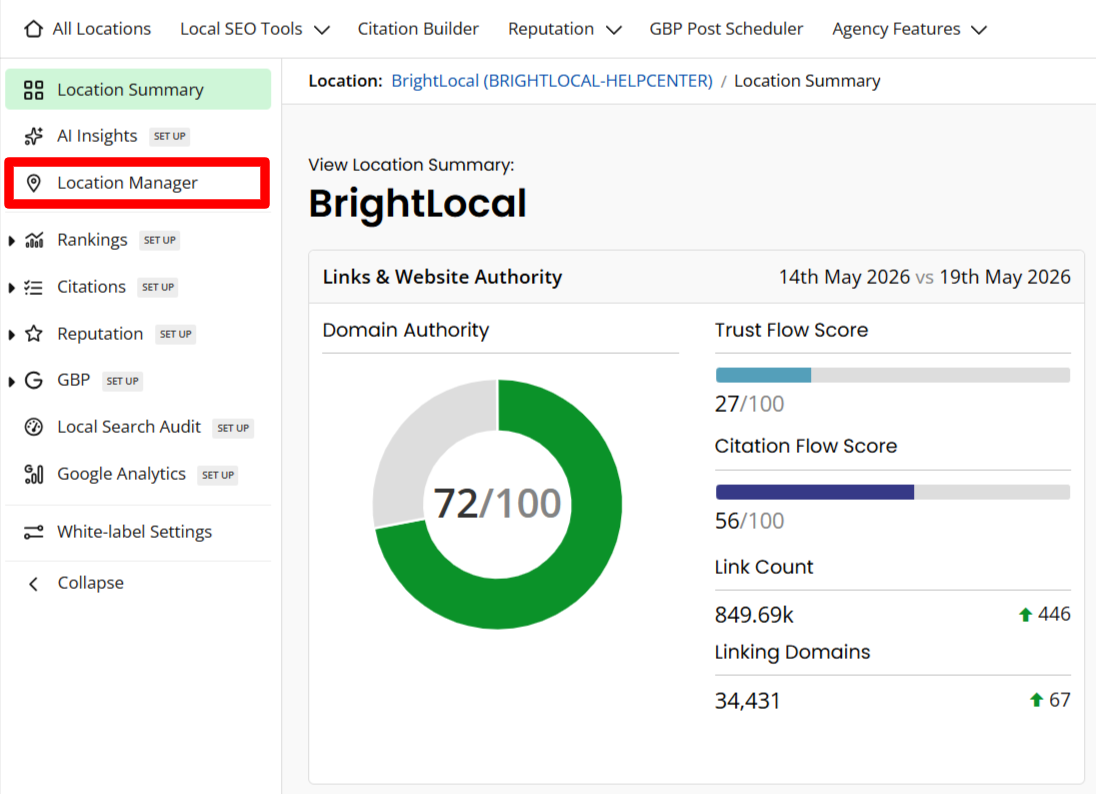
2. Go to Location Manager
In the next window, click 'Location Manager' on the left-side menu bar.
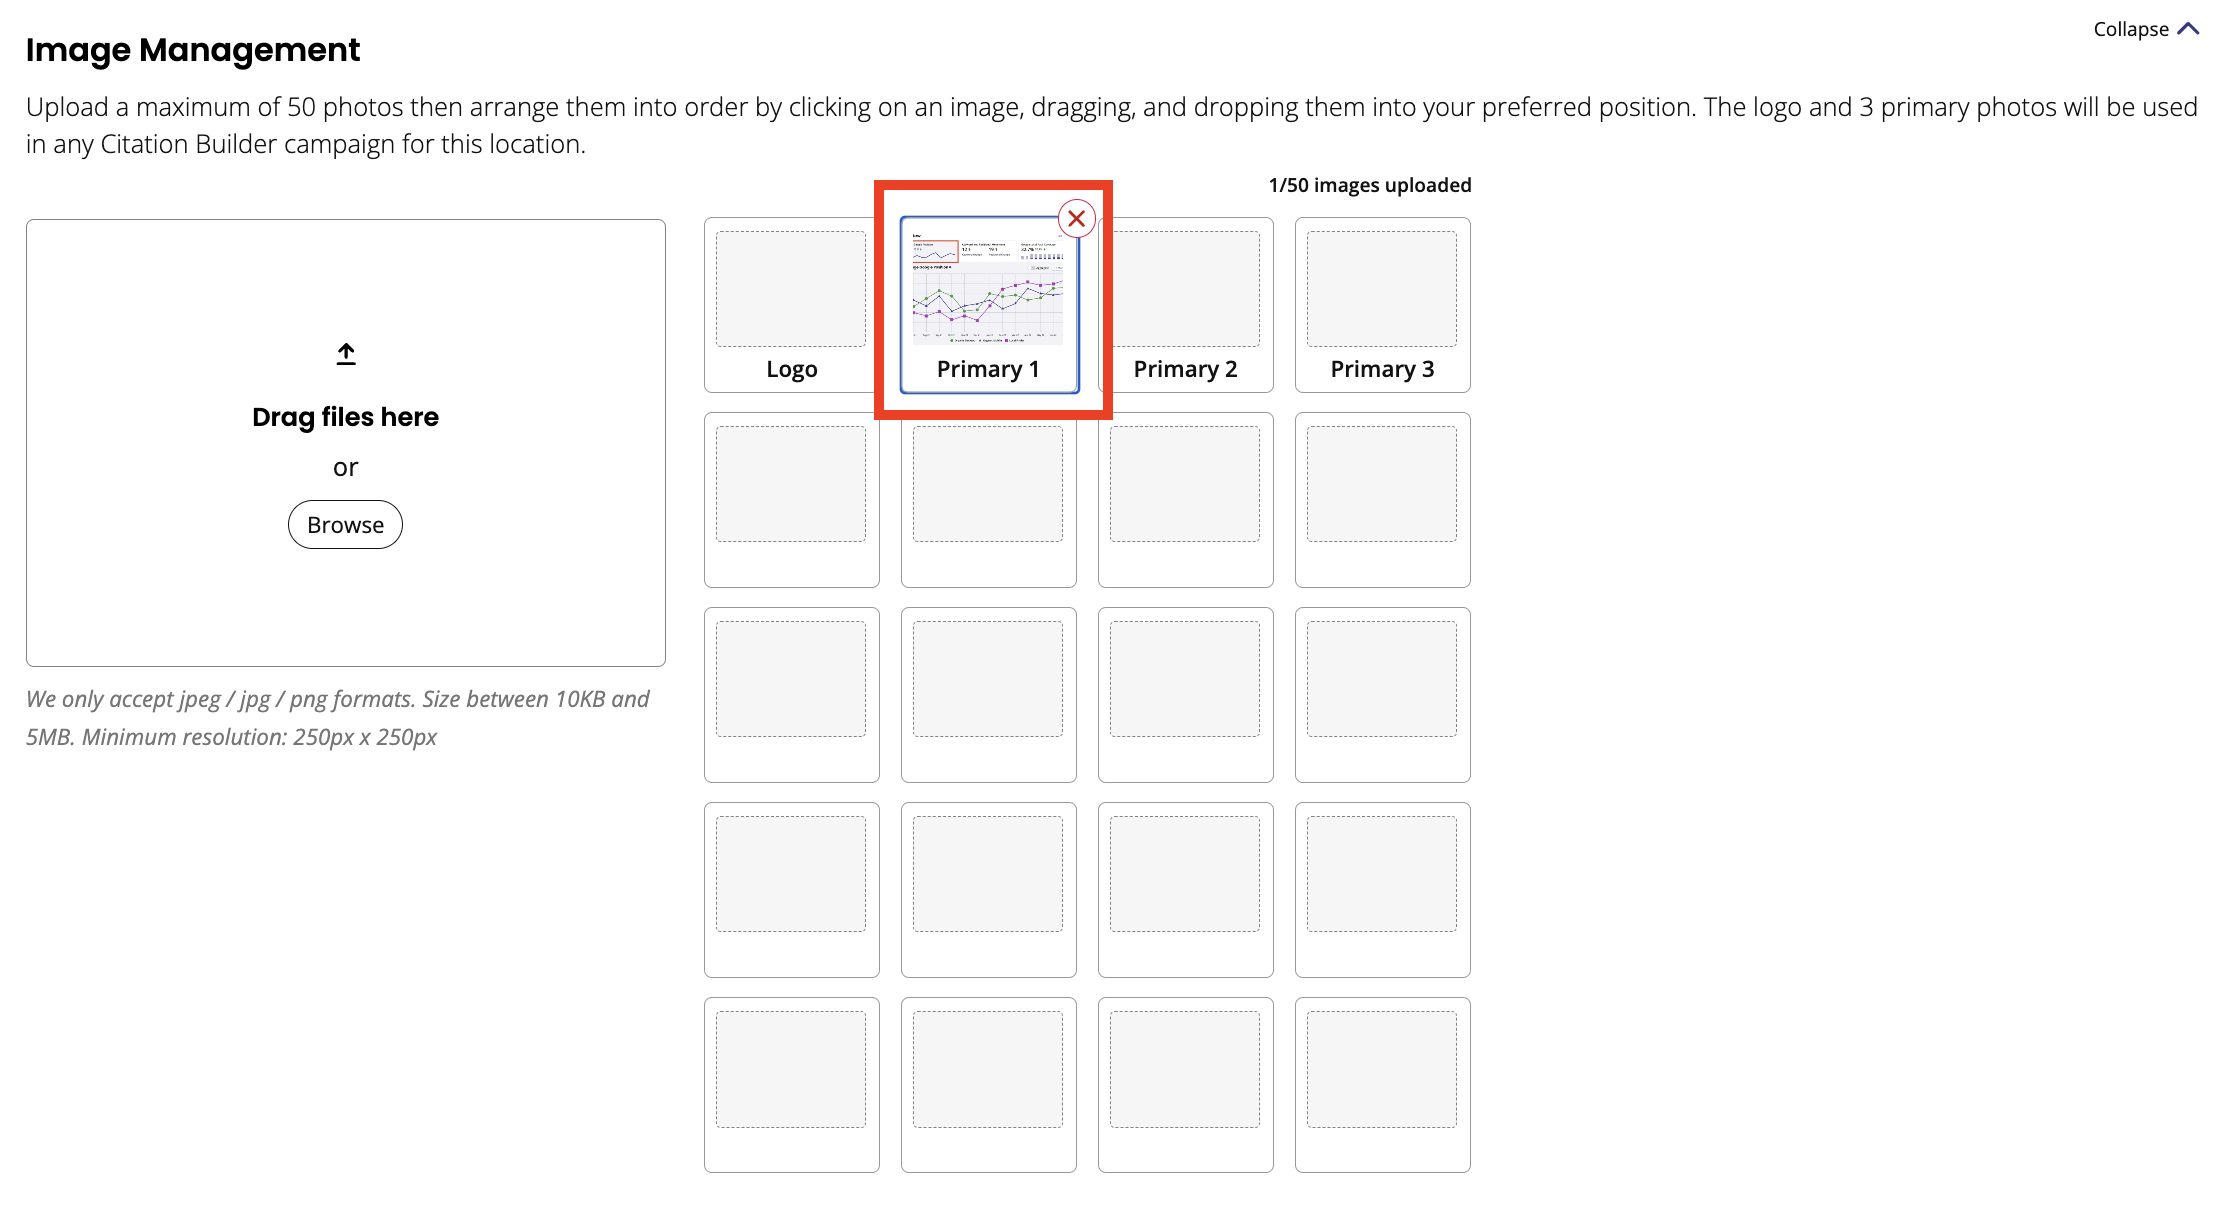
3. Image Management
Scroll down to the section called 'Image Management' and either drag and drop the images that you want to upload into the box or click 'Browse' to locate them on your computer.
4. Order images
Arrange the images into the order that you want them to appear by clicking on the image and dragging and dropping them into your preferred position. The logo and 3 primary photos will be used in any Citation Builder campaign that you set up for this Location.
If you want to delete an image at any time simply click the red cross next to it.
5. Save changes
Once you have arranged all of your images, click 'Save' at the bottom of the page.
Note: If you have Active Sync set up for the Location, you will see a checkbox at the bottom of the 'Image Management' section, that you can select to sync all the images to the location's Google Business Profile. Click here to find out more.
Comments
0 comments
Please sign in to leave a comment.